10 Cupcake Decorating Ideas Anyone Can Master
For the longest time, I thought beautiful cupcakes were the domain of professionals — people with steady hands, fancy tools, and years of training. Then I started actually trying, and I discovered something wonderful: the vast majority of jaw-dropping cupcakes are made with a small handful of beginner-friendly techniques. You really don't need pastry school. You need a little frosting, a few simple tricks, and the willingness to make a slightly messy first attempt.
Here are ten decorating ideas, roughly from easiest to slightly more ambitious, that anyone can master. Pick one and try it this weekend.
1. The Classic Swirl
If you learn only one thing, learn the swirl. It's the move that instantly makes a cupcake look bakery-bought, and it's far easier than it looks. Fit a piping bag with a large star tip (a Wilton 1M is the famous one), fill it with frosting, and start piping from the outer edge. Move in a spiral toward the center, then lift straight up to finish with a little peak.
The secret is to keep steady, even pressure and let the tip do the shaping — don't try to "draw" the swirl, just guide the bag. Your first one might look lopsided. Your fifth will look professional. That's the whole learning curve.
2. The Rustic Spatula Swoop
Don't even own a piping bag yet? No problem. Some of the prettiest cupcakes are frosted with nothing but a small offset spatula or the back of a spoon. Plop a generous dollop of frosting on top, then use the spatula to swoop it into a soft, rounded peak with a little flick at the end.
This rustic, homemade look is genuinely trendy right now, and it's wonderfully forgiving. There's no "wrong" swoop. It says "made with love in a real kitchen," which is exactly what we're going for.
3. Sprinkles, Done With Intention
Sprinkles are the easiest upgrade in the world, but there's a trick to making them look deliberate rather than dumped. Frost your cupcake, then hold it sideways over a bowl and gently press the frosted top into a pile of sprinkles, rotating to coat the edges while leaving the center clean. The result is a polished "sprinkle ring" border that looks intentional and professional.
For full coverage, do the same but roll the whole top. Either way, do it while the frosting is fresh and tacky so everything sticks.
4. The Two-Tone Swirl
This one looks impressively advanced and takes about thirty extra seconds. Lay out a sheet of plastic wrap, spread one color of frosting down one half and a second color down the other, then roll it into a log. Snip the end, drop the whole log into your piping bag (tip already in place), and pipe as usual. Out comes a gorgeous marbled, two-tone swirl that looks like you trained for it.
Try pink and white for something pretty, or chocolate and vanilla for a classic look.
5. Drizzle and Drip
A simple drizzle adds instant drama. Warm a little caramel, melted chocolate, or a thick glaze until it's pourable but not runny, then use a spoon to drizzle it back and forth over your frosted cupcakes. For a trendy "drip" effect, let a few lines run intentionally down the sides.
The key is consistency: too thin and it slides right off, too thick and it won't move. Aim for something that ribbons slowly off the spoon.
6. Fresh Fruit and Edible Garnishes
Never underestimate how elegant a single, well-placed garnish can be. A fresh raspberry, a curl of lemon zest, a mint leaf, a slice of strawberry, or a few blueberries can turn a plain swirl into something that looks like it came from a patisserie window.
The trick is restraint — one or two thoughtfully placed elements look chic, while a fruit salad piled on top looks chaotic. Match the garnish to the flavor and let it be a small, perfect accent.
7. The Cookie or Candy Topper
Tuck something delicious into the frosting and you've got a topper that's both decoration and a flavor preview. A mini cookie, half a chocolate sandwich cookie, a square of chocolate, a caramel candy, a pretzel, or a chunk of the same thing that's inside the cupcake — all of these signal exactly what someone's about to enjoy.
Press the topper in at a jaunty angle while the frosting is fresh. It's playful, it's easy, and it photographs beautifully.
8. Dusting With Cocoa or Powdered Sugar
For an understated, elegant finish, hold a small fine-mesh sieve over your frosted cupcakes and tap a little cocoa powder, powdered sugar, or cinnamon over the top. It's the cupcake equivalent of a cafe's dusted dessert plate — subtle, sophisticated, and effortless.
This works especially well over a simple swirl on coffee, chocolate, or spiced cupcakes. A little goes a long way, so dust lightly.
9. Piped Rosettes and Stars
Once you're comfortable with the basic swirl, branch out into shapes. A rosette is just a swirl done in place — start in the center, pipe a tight spiral outward, and lift. Cover the whole top in small rosettes for a flower-bouquet effect, or pipe a cluster of little stars by holding the star tip straight up, squeezing, and pulling away.
These small repeated shapes look intricate but use the exact same tip and the exact same pressure control you already practiced. Repetition is the only skill required.
10. The Ombré Effect
To finish, here's the one that always gets gasps and is secretly simple: ombré frosting that fades from dark to light. Divide your frosting into a few bowls and tint them progressively — say, deep pink, medium pink, and pale pink. Then either pipe a band of each color up the side of your piping bag before swirling, or frost a batch in graduating shades so the whole tray shifts from dark to light.
When you swirl a bag layered with shades, the colors blend softly as they pipe, creating that dreamy gradient. It looks like serious skill. It's really just three bowls and a little food coloring.
Bonus: Building a Little Decorating Kit
You don't need a cupboard full of equipment to do everything on this list, but a handful of inexpensive tools will make these techniques dramatically easier and more fun. If you're putting together a small starter kit, here's what I'd buy first:
- A few piping bags (reusable or disposable) — disposable ones are wonderfully low-stress because cleanup is just tossing them out.
- An open star tip and a round tip — the star tip gives you swirls, rosettes, and stars; the round tip handles dots, drips, and writing. Those two alone unlock most of this list.
- A small offset spatula — perfect for the rustic swoop and for smoothing frosting cleanly.
- Gel food coloring in a few core shades — pink, a warm yellow, and a true red will mix into most colors you'll want.
- A jar of sprinkles or two and a little container of flaky finishing touches.
Keep it all in a shoebox or a drawer and you've got a decorating kit that costs less than a fancy cake but lets you make a hundred different things. The tools genuinely lower the barrier — a swirl that feels impossible by hand becomes easy the moment you've got the right tip in your bag.
A Few Tips That Make Everything Easier
No matter which technique you choose, a few habits will set you up for success:
- Always frost completely cooled cupcakes. Warm cupcakes melt frosting into a slippery mess. Patience first.
- Get your frosting consistency right. Too soft and it won't hold a shape; too stiff and it tears. It should be smooth, fluffy, and hold a peak. Add a splash of cream to loosen or a spoon of powdered sugar to stiffen.
- Practice on parchment first. Pipe a few swirls onto a sheet of paper, then scrape the frosting back into the bag. You'll find your rhythm before you touch a real cupcake.
- Use gel food coloring, not liquid. Gel gives vivid color without thinning your frosting.
- Keep it simple. One technique done cleanly beats five crammed onto a single cupcake.
You're More Ready Than You Think
Here's the honest truth I wish someone had told me sooner: beautiful cupcakes are not about talent. They're about a few learnable techniques, a tub of well-made frosting, and the courage to try. Your first swirl might wobble. Your first drip might run too far. And then you'll do it again, and again, and very quickly you'll be the person whose cupcakes make everyone at the party say "wait, you made these?"
So pick one idea from this list — just one — and try it with your next batch. Decorating cupcakes is one of the most joyful, low-stakes, high-reward things you can do in a kitchen. The worst-case scenario is a slightly messy cupcake that still tastes delicious. That's a pretty wonderful worst case.
Now go make something pretty.
Zoe
Home baker and founder of Zoe's Baking Emporium, sharing recipes and the little lessons learned along the way.
Keep reading
 Baking Tips
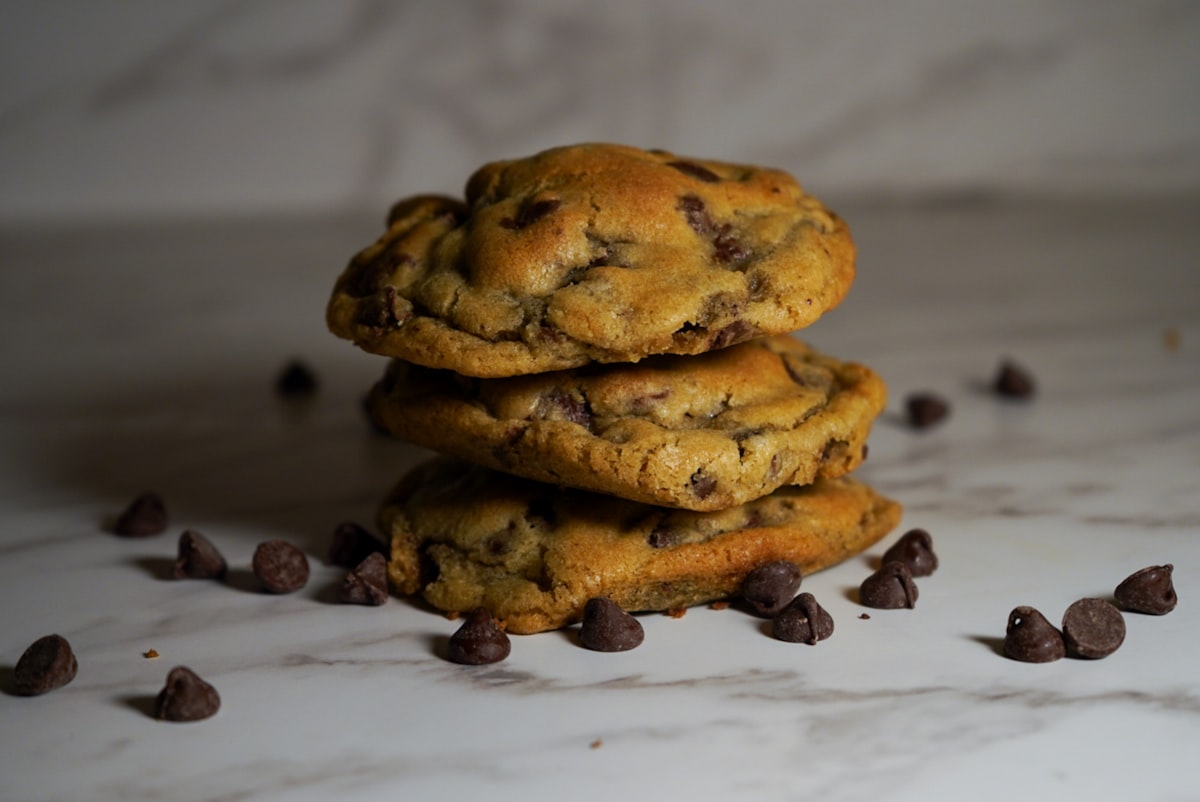
The Secret to Perfect Soft Cookies Every Time
Soft, chewy cookies aren't luck — they're a handful of small decisions about butter, sugar, mixing, and time. Here's everything I've learned.
Read more →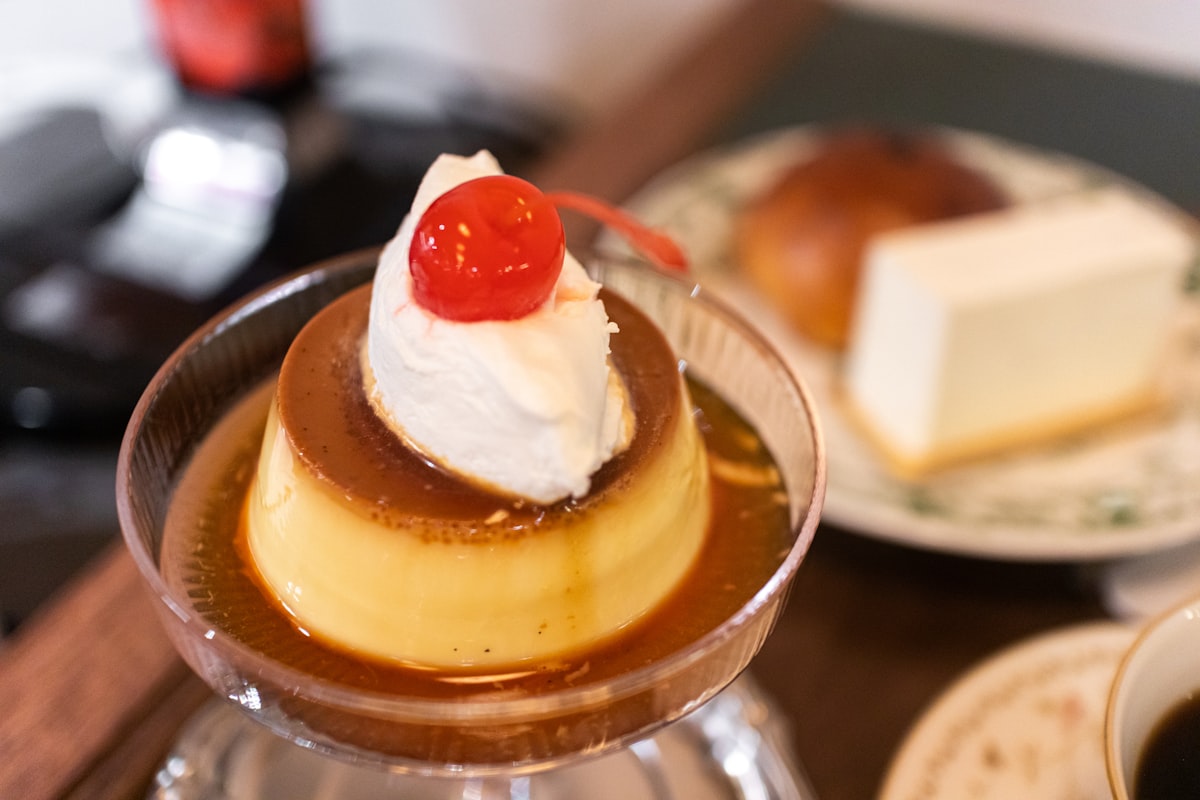 Baking Stories
My Journey Learning to Make Flan
Flan humbled me more than any other dessert. Here's the story of the cracked, curdled, weepy failures that eventually taught me to make it silky.
Read more →